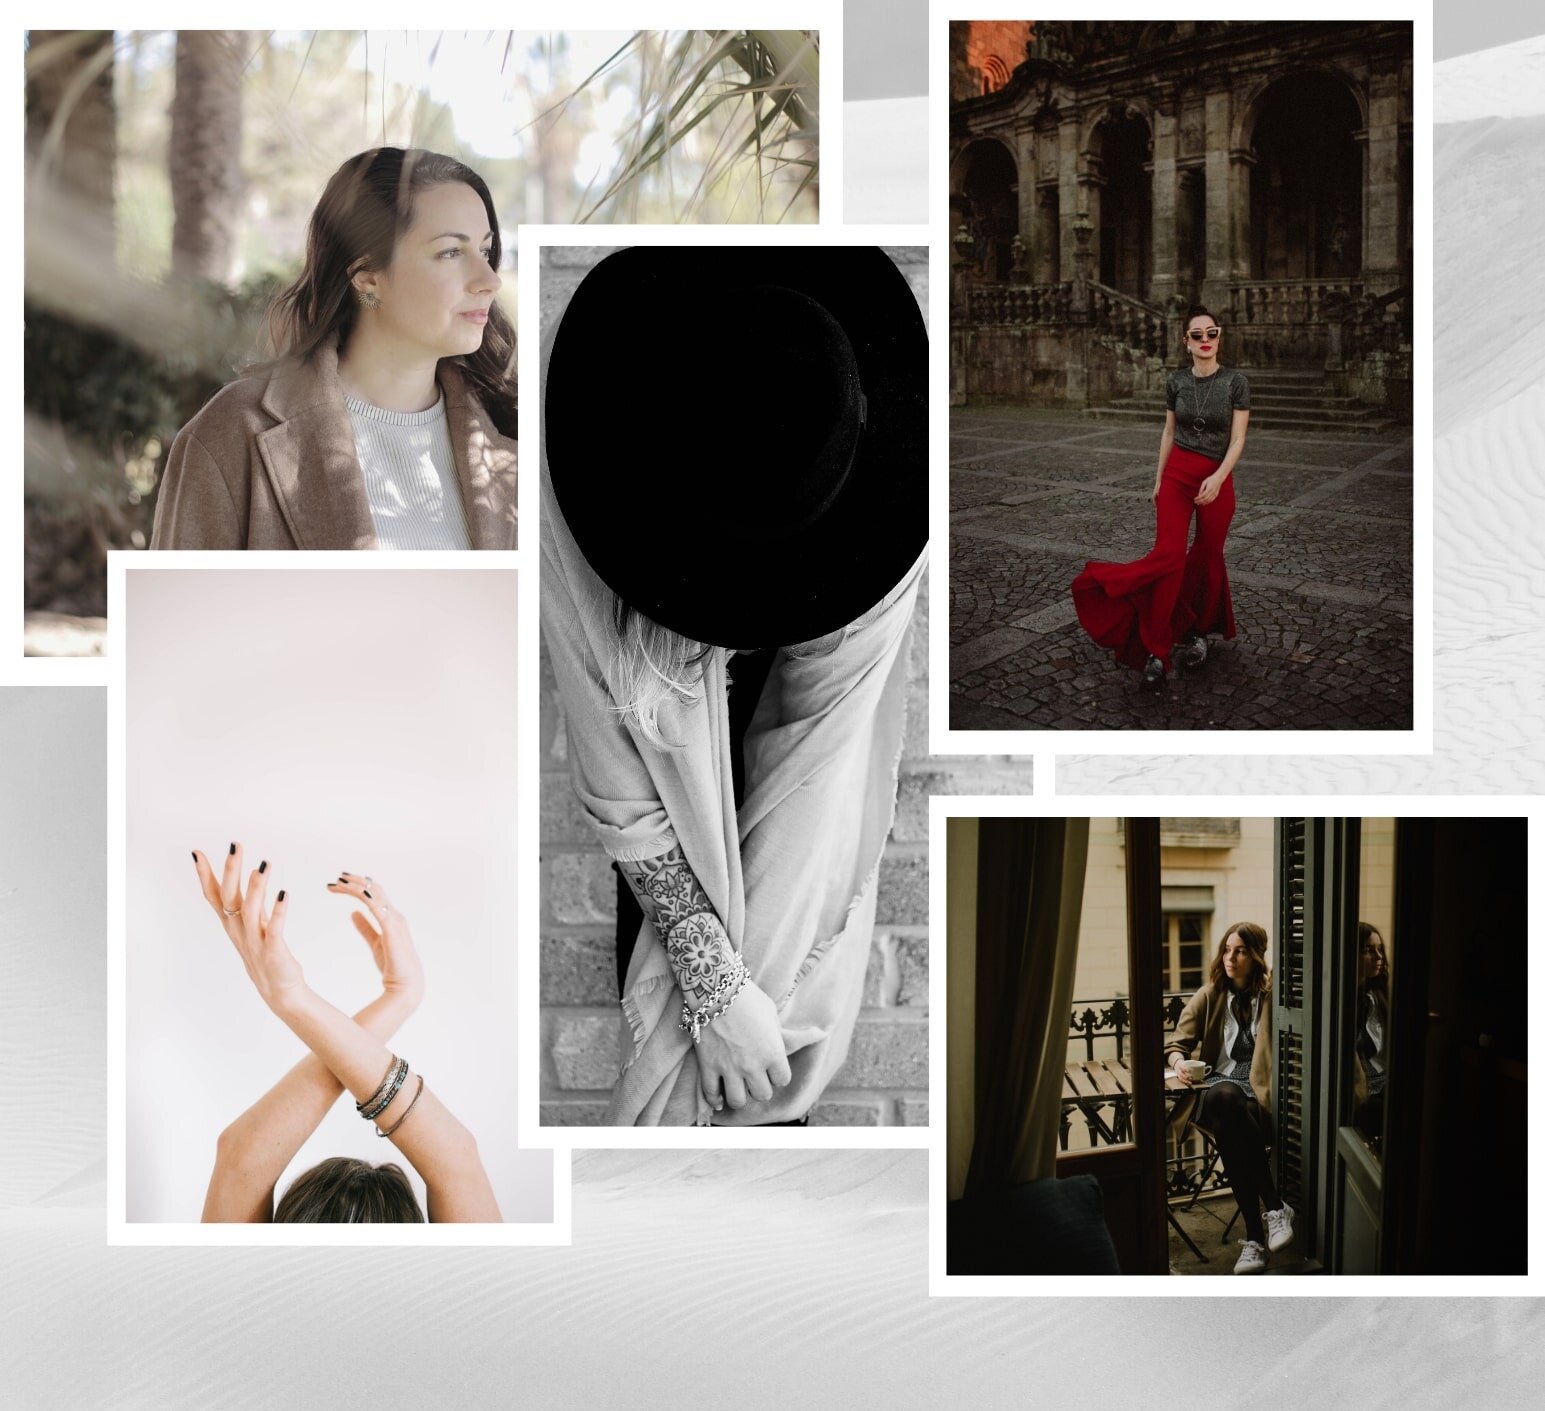
5 Tips for Creating and Selecting Your Brand Photos
Great brand photography can be the difference between appearing as an amateur and an absolute pro, even if you haven’t been in business for very long. But before we dive into my top tips, I want to discuss some major advantages of having great brand photography.
WHY DO YOU NEED BRAND PHOTOGRAPHY? BECAUSE IT:
Humanizes your brand, so your audience can connect with you more easily
Gets a message across quickly
Creates a good first impression
Conveys emotion & personality
Builds trust and recognition
Increases perceived value
Creates brand loyalty and long-term customers
Here are my top 5 tips for creating and selecting professional-looking brand photography, even if you DIY!
1. Keep your audience in mind
You want to make sure that your photo selection is both visually appealing and creates an emotional connection with your ideal audience. Here are some questions to consider before selecting your brand photos:
What types of visuals and emotions would they be attracted to?
What would they find relatable?
For example, if moms are your ideal audience, then a good idea would to show lifestyle photos such as doing chores around the home, being with your children, working from home, etc. because it will be more relatable to your audience.
What is the goal with the chosen photo and how do you want your audience to feel when they see it?
These are the biggest questions to keep in mind especially when you are selecting photos for your media, whether it is a blog post, social media post, etc., because they influence what photo to pair with each post. This is also where strategic storytelling really comes into play. Consider the story you want to tell with your photo and the post that goes along with it, and make sure the emotions align with your goal.
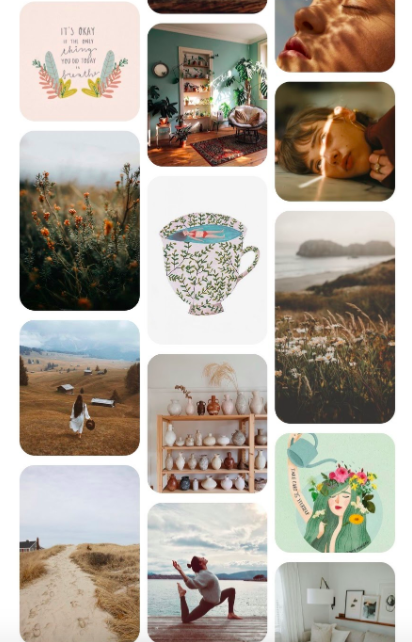
2. Create a Pinterest inspiration board
Pinterest is your best friend when it comes to creating cohesive brand photography! If you are working with a photographer, make sure you write in the description in each pin about what you liked about it—this will really help your photographer understand your vision and unique style. If you are DIYing your photos, this will also come in handy to analyze what specific elements you like in each photo you are drawn to.
Keep in mind that the board is meant for inspiration, NOT to be exactly replicated in the shoot. When you work with a photographer, remember you are hiring them for their unique style and perspective, which means they won’t be able to do their best work if they try to copy someone else.
Focus on the following categories for your inspiration board:
Colors
Textures
Poses
Hair & makeup
Lighting
Overall vibes
NEED A NEW WEBSITE? START WITH THIS FREE QUIZ!
HERE’S AN EXAMPLE INSPIRATION BOARD FROM ONE OF MY CLIENTS, WHO IS A YOGA TEACHER:
3. Consider how location relates to your brand
It’s important to consider the environment, the surroundings, and the lighting that you would like in the photography that you feel best represents your brand.
I recommend first considering your brand values and brand theme and see what visuals come to mind from there.
For example, The Humanista Co’s #1 value is freedom, and the brand theme is “it’s all about the journey.” From there, the visuals that came to mind were: wide open spaces, nature, scene from the desert, beach, panoramic views from above. This really helped bring direction to the brand photography overall.
4. Make a shot list & goals
Whether you are working with a photographer or having a friend take your photos, be sure to think if there are any shots you absolutely NEED. It’s best to determine this before a photoshoot so you can tell your photographer about this and they can better prepare with specific ideas for your shoot.
Some ideas for you:
What will the photos be used for? (For example, big banner images on your website, portraits, social media posts, etc.- this will affect the poses, angles, and backgrounds your photographer will choose.)
Do you need shots with blank/negative space so you can put text over them?
Do you need mostly landscape or portrait photos for blogs, website banners, social media posts? (For example, if you want some full-screen banner images for the website, make sure you tell your photographer so they take landscape shots.)
Think through logistical scenes (landscape or portrait) but also conceptual scenes (you working on your laptop, reading, action shots, etc.) that best reflect your brand.
Think about the story that you want your photos to tell your audience, and how they connect to your brand values and brand theme.
5. Don’t be anyone else but you in your photos!
This applies whether you are having a friend take your photos or a professional photographer. Of course, this is easier said than done, especially if this is your first photoshoot and you are not comfortable in front of the camera.
Here are a few tips to help bring your your best, natural, wonderful self:
Your energy: it introduces you before you even speak! That’s why you need to do whatever it takes to make yourself as comfortable, relaxed, and happy as possible prior to your photoshoot.
Laughter ALWAYS looks good in photos!
If you don't know what to do with your hands, you can fold them, touch your hair, push your hair behind your ears, put them on your hips, hug your knees if sitting, hold a coffee cup, move your hands each time you hear the shutter click because movement looks good in photos.
Play music to get you in a good, relaxed mood.
For further tips on creating effective photography for your brand, check out this in-depth article—Learn Digital Photography: The Ultimate Guide for Beginners


![Finding Your Purpose in the Chaos with Bethany Anderson [The Sacred Style Podcast-Ep. 5]](https://images.squarespace-cdn.com/content/v1/5fb03822fc8cf9091bebd19a/1743524837495-QLM8Q23WWUZWAUB5A1LD/IG-Post-Episode5-The+Sacred+Style+Podcast.jpg)
![Wandering Souls: Expat Life, Astrology & Surrender with Diane Nnaemeka [The Sacred Style Podcast-Ep. 4]](https://images.squarespace-cdn.com/content/v1/5fb03822fc8cf9091bebd19a/1743083310154-DOL87P1N0AMYNRAS8MHE/IG-Post-Episode+4-The+Sacred+Style+Podcast.jpg)
![Why Squarespace is Worth Every Penny ft. Intuitive Healer Bethany Anderson [Site Spotlight Series]](https://images.squarespace-cdn.com/content/v1/5fb03822fc8cf9091bebd19a/1742819078327-8Y0NX6YOPTYYDU5VN8KC/IG-Post-Site-Spotlight-Bethany.jpg)
![From Voice to Vision: Reinventing Yourself and Your Brand with Jarreau Williams [The Sacred Style Podcast-Ep. 3]](https://images.squarespace-cdn.com/content/v1/5fb03822fc8cf9091bebd19a/1742416910757-3526UUCOFSGL5OOF1ZPJ/IG-Post-Episode3-The+Sacred+Style+Podcast.jpg)
![Astrology & Fashion: Leveling Up Your Confidence with Yun-A Johnson [The Sacred Style Podcast-Ep. 2]](https://images.squarespace-cdn.com/content/v1/5fb03822fc8cf9091bebd19a/21d06879-8c95-4be8-8991-93d9596fc78a/IG-Post-Episode2-The+Sacred+Style+Podcast.jpg)
In today's episode, we'll be speaking about business strategy, identity shifting, and mindset.
I'll be speaking with Markus Tebel, a systemic and spiritual business coach whose mission is to help you create a life and business even your Future Self is jealous of.